MagicLantern + manual lenses = ❤
How?
- Head to MagicLantern experiment releases and grab a "Non-CPU lens info" build for your camera.
- Follow the how-to to install ML.
- Grab lua.zip and unpack it in the ML/scripts/ directory on your memory card. When prompted to overwrite xmp.lua, logger.lua or ui.lua, confirm it as you need the defined templates and couple other changes.
- Edit the ML/scripts/lib/lenses.lua script and add/comment out any lenses you'd like to use within the
"lenses = ...."part. All the configurable lens parameters are described there. - Insert the card to your camera, start it and if there is a manual lens attached, you should be prompted with a lens-selection dialogue.
- Within ML configuration locate the menu with general configuration of the script (screenshot to be added here....) and from the format dropdown select Exiv2.
- Enable image-previews in the camera menu.
- Go out and make some pictures ;)
- Once you're back home, you should see a file called MANUAL.SH in the image folder of your memory card. Contents of that file should be similar to whats shown here.
- Execute the script (i'm using simple bash ./MANUAL.SH) and open the images in your favorite viewer or editor.

Lens list
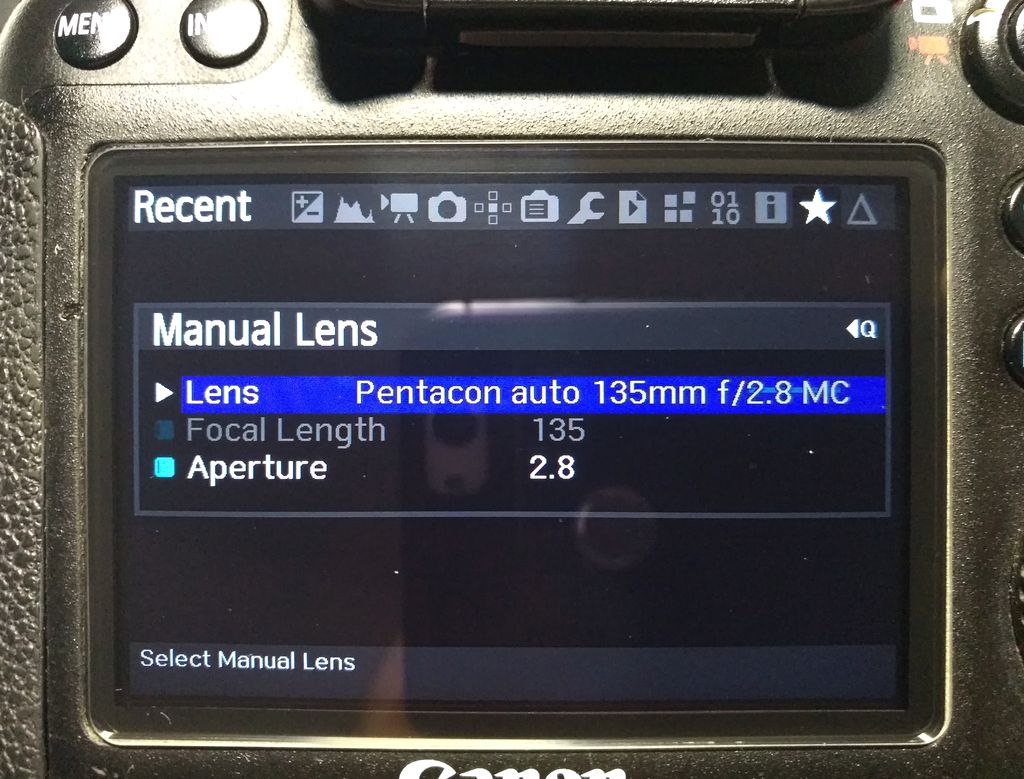
Lens detail
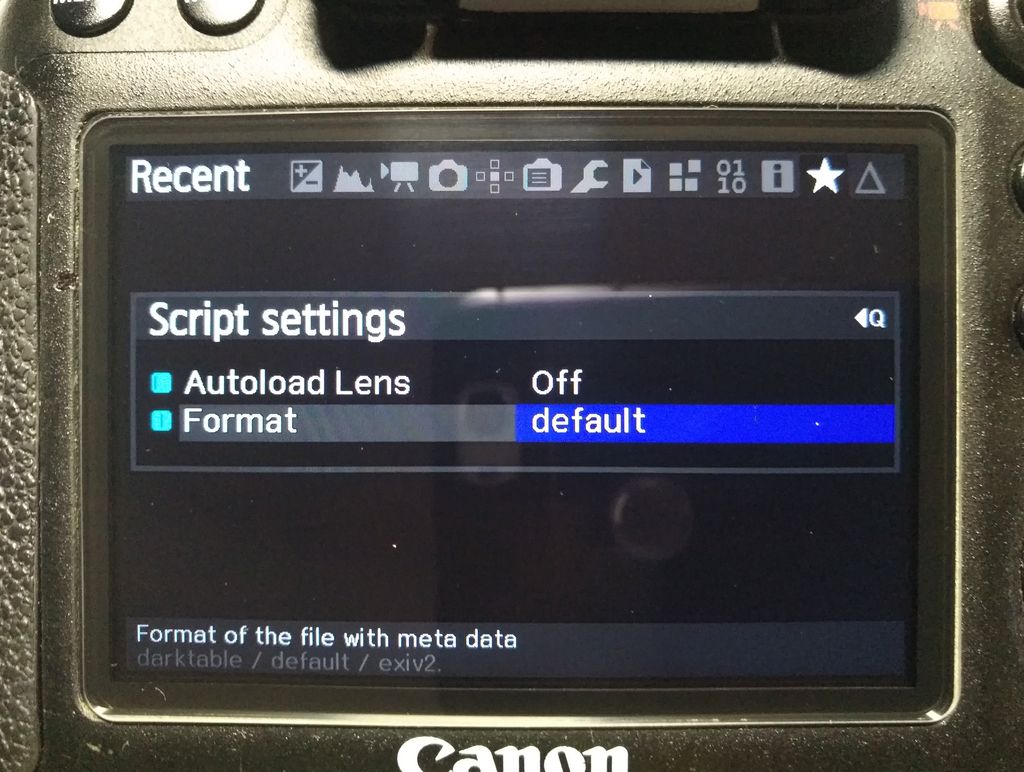
Script settings
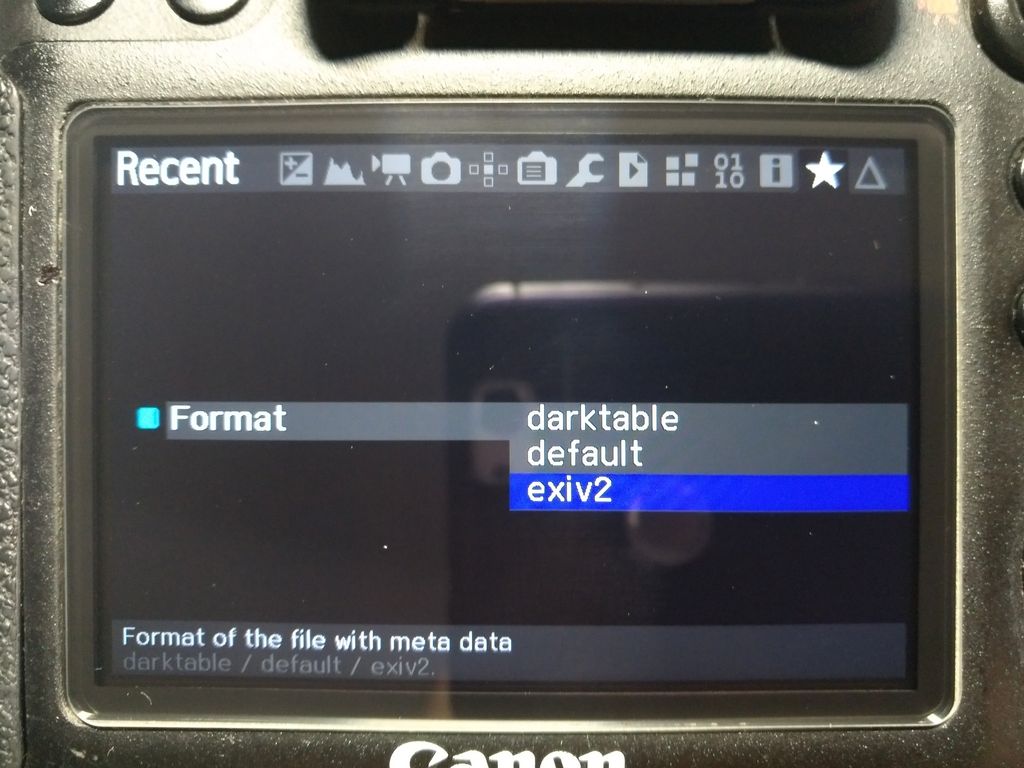
Outfile format

Recent items
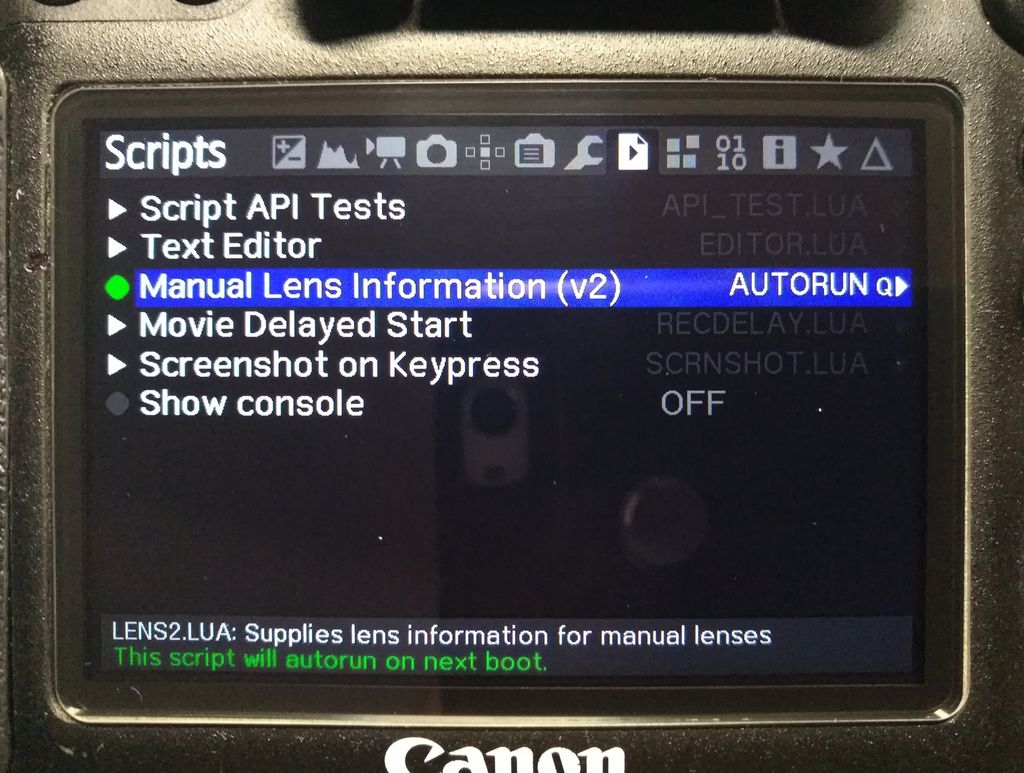
Scripts menu